
What is a demat account, and why do you need one? In today’s digital age, investing in the stock market has become easier and more understandable than ever before. However, before you buy your first share, you need a demat account. It is necessary to have one to keep your securities in digital form. Think of it as a digital locker for your investments.
In this blog post, we will guide you through the user-friendly steps to open a free demat account in India using simple and understandable language. No confusion—just clarity.
🔍 Step 1: Understand What a Demat Account Is
Table of Contents
Before investing in the stock market, you need to understand what a demat account actually is.
A demat account is short for a ‘dematerialized account.’ A demat account is used to store your investments, such as ETFs, shares, bonds, and mutual funds in electronic format. This means that you no longer need to carry physical share certificates, which are prone to theft or loss. Instead, all your holdings are maintained digitally with the utmost security and convenience.
A demat account is like a bank account, but instead of storing money, it stores your financial securities. When you buy any shares, they are credited to your account, and when you sell, they are debited. This system simplifies trading and ensures that all transactions are recorded in a consistent manner.
Advantages:
- Easy and online access.
- Transactions are faster.
- Your investments are stored safely.
- There is no risk of physical damage or theft.
- Automatically updates your portfolio in real time.
📄 Step 2: Collect the Required Documents
It is very important to collect all the necessary documents to speed up your account opening process before you start the online application process. Having everything ready will help you complete the process in one go without any delays.
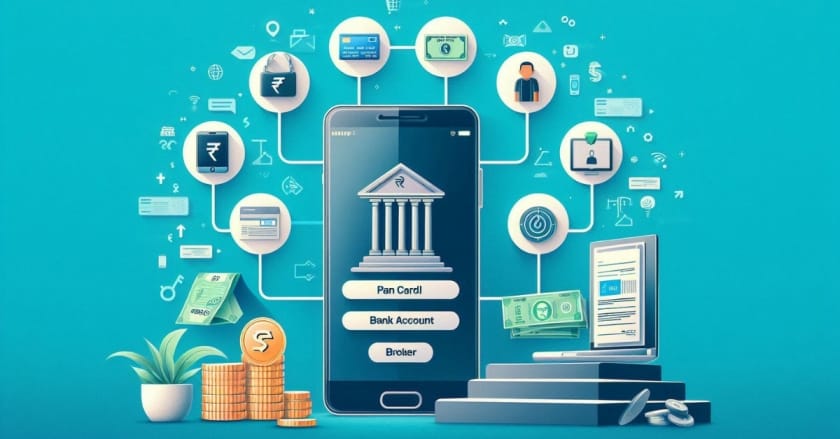
To open a demat account, you will need the following documents:
- Aadhaar card or other proof of address (like Voter ID, Passport, or Utility Bill).
- PAN Card – This is mandatory for all financial transactions in India.
- Bank account details – A cancelled cheque or a recent bank statement (to link your bank for transactions).
- Passport-sized Photograph – A recent and clear image (some platforms allow you to upload a digital copy).
- Signature on White Paper – Scan or photograph your signature on plain paper
These documents are required to complete the eKYC (Electronic Know Your Customer) process, as mandated and approved by SEBI (Securities and Exchange Board of India).
To avoid delays in verification, ensure that your name, date of birth, and other details are consistent across all documents.
💼 Step 3: Choose a Reliable Depository Participant (DP)
You can open your demat account through one of the following Depository Participants:
- A stockbroker (like Dhan, Angel One, Upstox, FYERS, Zerodha, Groww)
- A bank (like SBI, HDFC, ICICI)
🔎 How to choose the best one?
- There should be no charge for opening a demat account.
- Annual maintenance charges should be low.
- Customer support should be better. Good support matters if you ever face issues with verification, login, or transactions.
- User-friendly and easy-to-use app or platform.
- Additional Features – Some platforms offer extra benefits like stock screeners, flash trade, research tools, IPO applications, SIP in stocks, or educational content.
- Reputation & Reliability – Go with SEBI-registered brokers who have a proven track record and strong user reviews.
Tip: Check comparison websites or YouTube reviews for real user experiences before choosing your depository Participant.
📲 Step 4: Apply Online
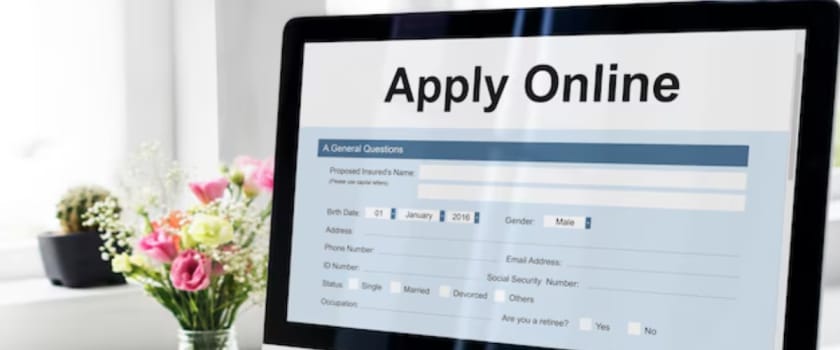
Once you have chosen a depository Participant, applying for your account is quick and completely online. The process is designed to be paperless, fast, and user-friendly, making it suitable for newbies as well.
Most brokers allow you to open your account in minutes, and the process is as follows:
- Visit the Official Website or App – Go to the Depository Participation portal and click on “Open Demat Account.”
- Enter Basic Details – Fill in your name, mobile number, email, and address. Usually, an OTP will be sent for verification.
- Complete eKYC – You will be asked to upload your PAN, Aadhaar, and other required documents. Most platforms use Aadhaar-based OTPs for quick verification.
- Add Bank Details – Link your bank account by uploading a bank statement or a cancelled check to ensure easy fund transfers to buy or sell stocks.
- Do IPV (In-Person Verification) – This is often done through a short selfie video or a live photo with your PAN. It helps confirm your identity in real time.
- Review and Submit – Double-check all your details, and then review the terms and conditions, and press the submit button. You may receive a confirmation via a reference number or email.
What will happen next?
- The broker verifies your application and documents.
- If everything matches, your demat account usually gets activated within 24 to 48 hours.
- You’ll receive your login credentials via email or SMS.
Tip: If you ever feel stuck, many platforms offer live chat, call support, or video guides during the sign-up process.
🔐 Step 5: Set Up Your Login & Start Exploring
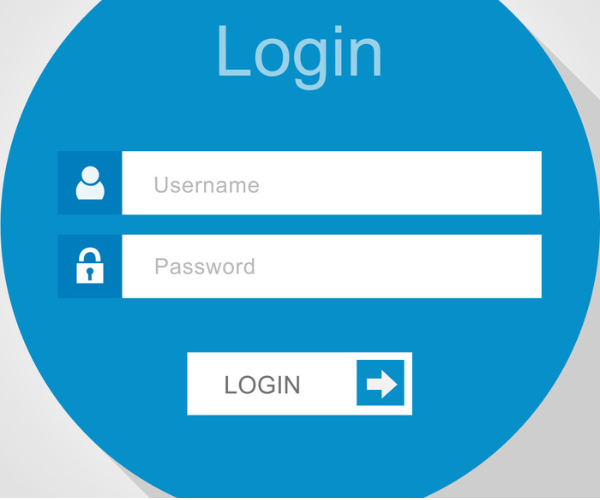
Once your demat account is approved and activated, it’s time to log in and take your first steps toward investing.
Now what you need to do next is as follows:
- Set Up Your Credentials – Use the login ID and password sent by your broker via SMS or email. For security, change your password immediately after logging in.
- Enable 2FA or OTP Login – Most platforms offer two-factor authentication (2FA) for added security. Enable this feature to protect your account from unauthorized access.
- Explore the Dashboard – Familiarise yourself with the platform layout. Most dashboards show your portfolio, watchlist, market trends, and quick trade buttons.
- Customize Your Watchlist – Add some stocks, mutual funds, or ETFs that you are interested in tracking. This will help you stay updated without worry.
- Link Your Trading Account (if not done already) – Many platforms offer demat and trading accounts separately.
- Check Charges and Limits – Go through the fee structure, AMC, transaction charges, and intraday/margin limits, if applicable.
Tip: Don’t rush to invest on the first day. Give yourself some time to learn the platform.
A demat account stores your shares, while a trading account lets you buy and sell them. Most brokers offer both together—make sure they’re linked for smooth transactions.
✅ Click Here to Create a Free Demat Account
📝 Conclusion: Start Your Investment Journey Today
Opening a demat account is your first step toward building wealth through investment. With today’s paperless process, you can open a demat account from your phone in just a few clicks. Follow the steps mentioned above and start investing in the future in a smart and secure way by choosing a trusted broker.
📢Disclaimer: Investment in the securities market is subject to market risks. Please read all scheme-related documents carefully before investing. The information provided in this article is for educational and informational purposes only and is not intended as investment advice. Trading in derivatives, including options, involves substantial risk and is not suitable for all investors. Past performance is not indicative of future results. Readers are advised to consult with their financial advisors before making any trading decisions.
❓FAQs About Opening a Free Demat Account
1. Is a Demat account free?
Yes, many brokers offer zero account opening charges and waive the AMC for the first year.
2. Can I open multiple Demat accounts?
Yes, but you can only open one account with each broker. You can open multiple accounts with different brokers.
3. Is it safe to open a Demat account online?
Absolutely! SEBI-regulated platforms use encrypted systems and Aadhaar-based eKYC for safety.