

Free Demat Account in the Dhan App:
Dhan
Dhan is one of India's fastest-growing technology and product-led stock broking platforms offering lightning-fast investing and trading experience to its users.
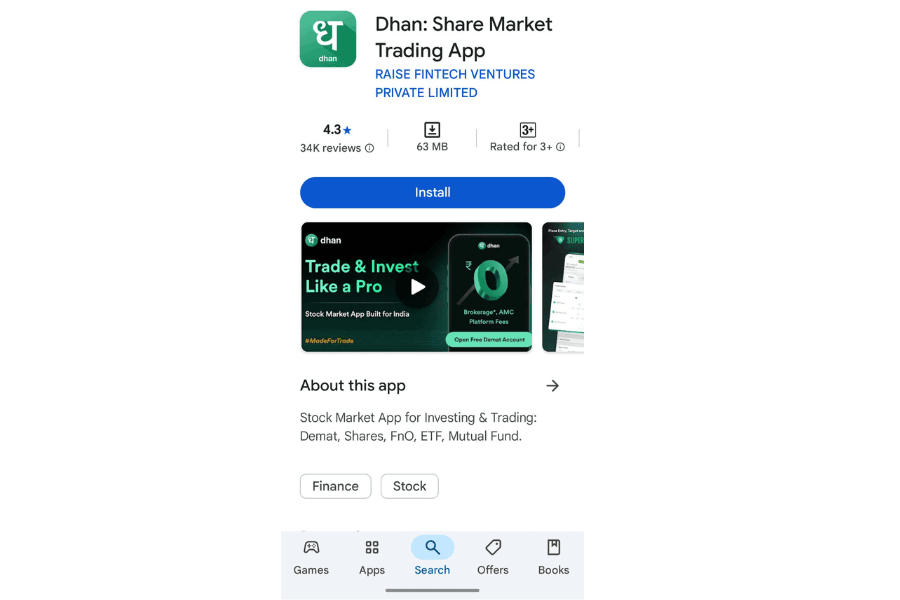
Step 1: First of all, go to the Play Store and install the Dhan app.
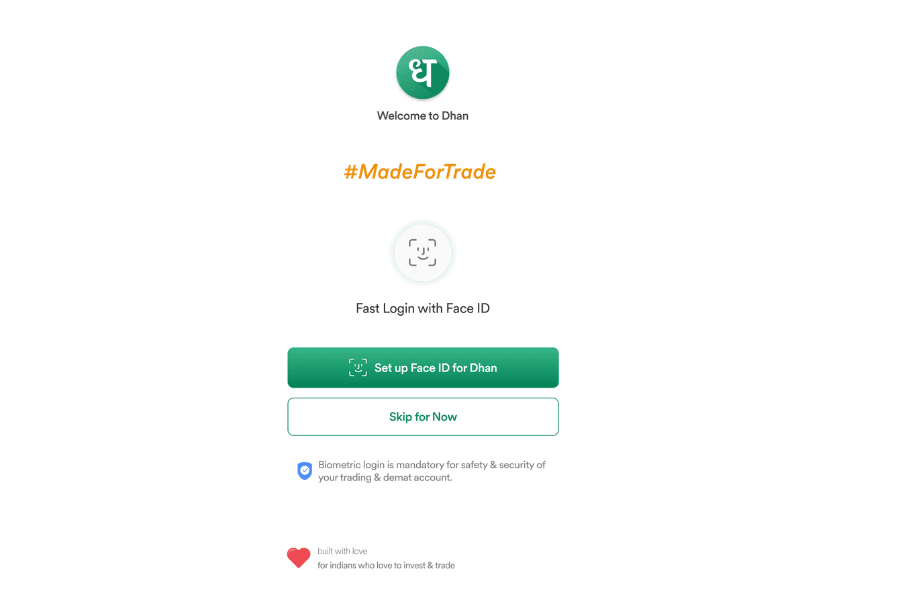
Step 2: Then open the Dhan app and enter your mobile number in it. Then click on 'I am ready to trade.'

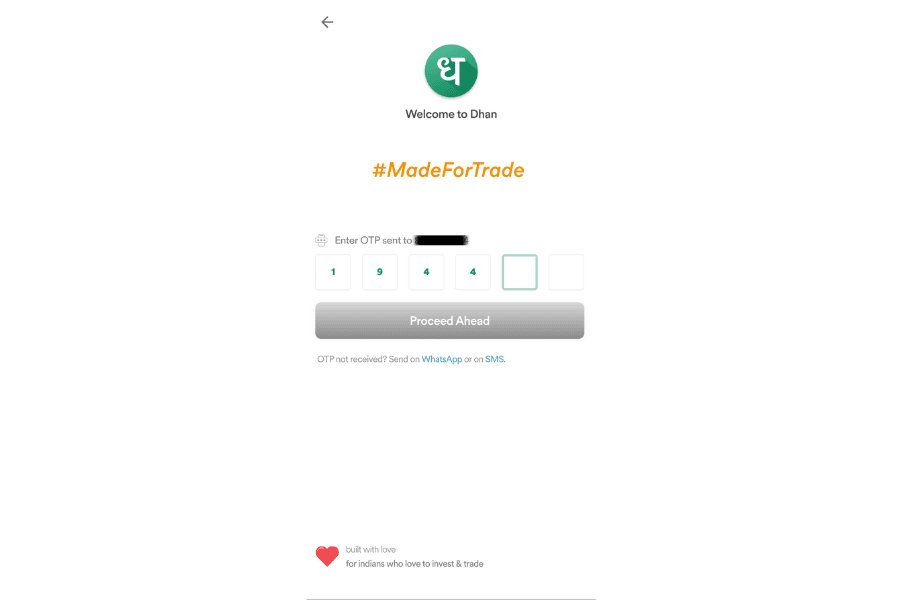
Step 3: An OTP will be sent to the mobile number you provided. Enter that OTP.
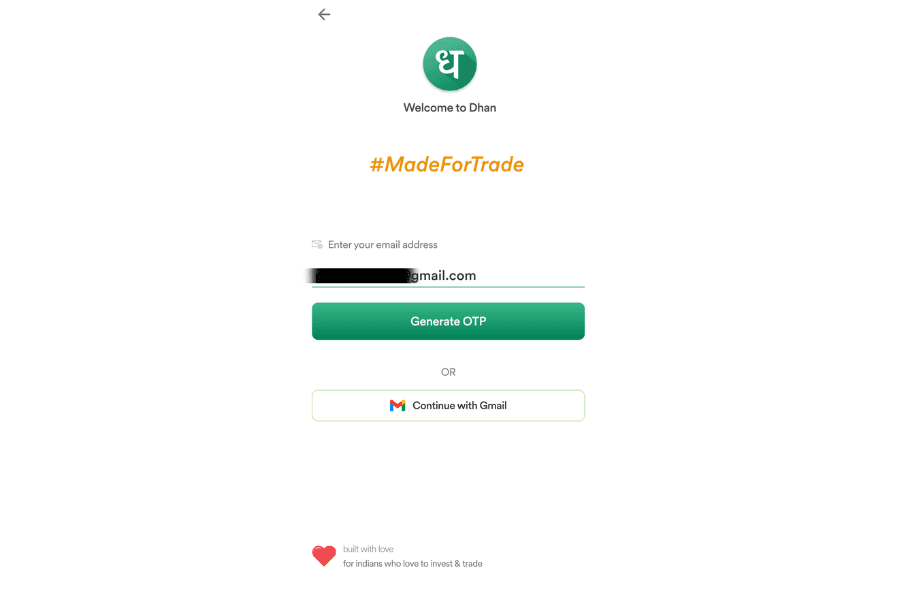
Step 4: Enter your email address or click on the Google button below to enter the email ID you want to use, and then click on Proceed.
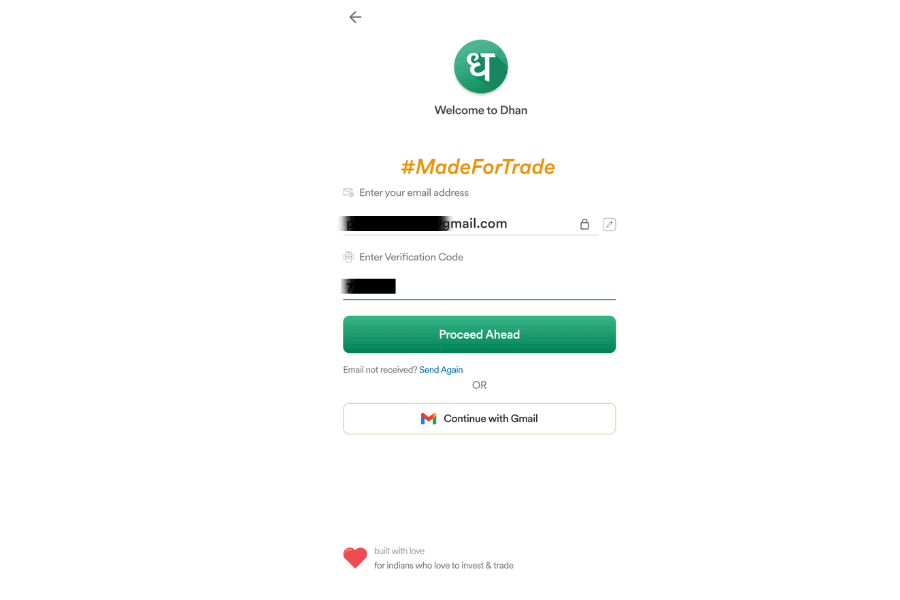
Step 5: Enter the OTP that you have received in your email and click on Proceed Ahead.
Step 6: Enter a six-digit PIN that you can remember, and enter the same PIN in the Confirm PIN field a second time. This PIN will be useful for logging in after all the processes are complete.

Step 7: Set up your Face ID to log in, or you can skip it now and set it up later.
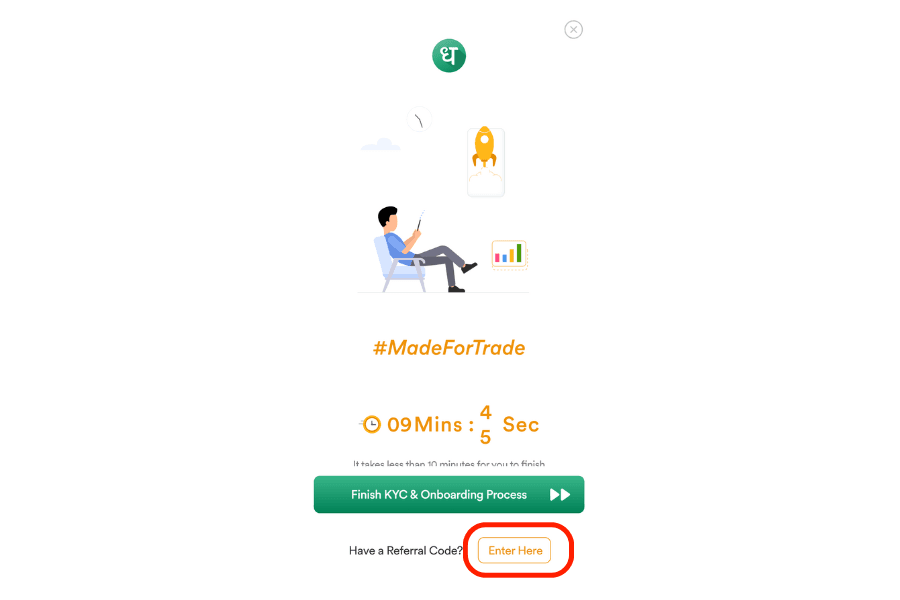
Step 8: Then click 'Enter Here' to input the referral code.
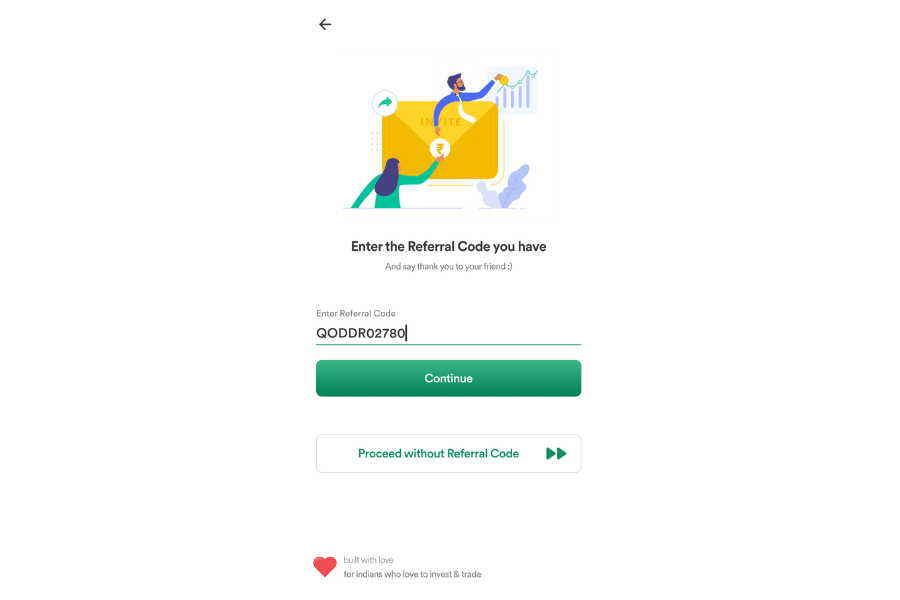
Step 9: Enter the referral code below and then click "Continue."
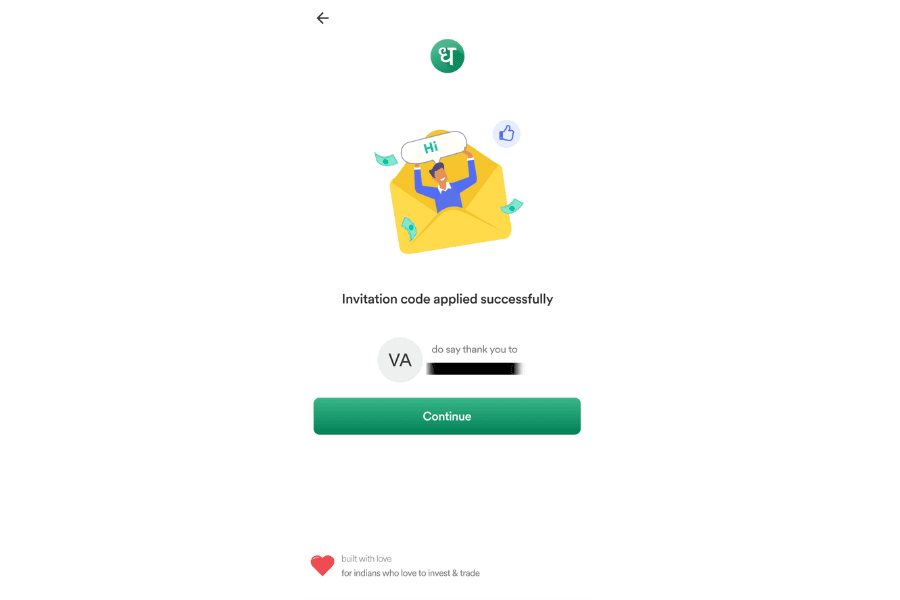
Step 10: A pop-up will appear stating that the referral code has been successfully applied; now continue.
Step 11: Enter your PAN card number and date of birth.
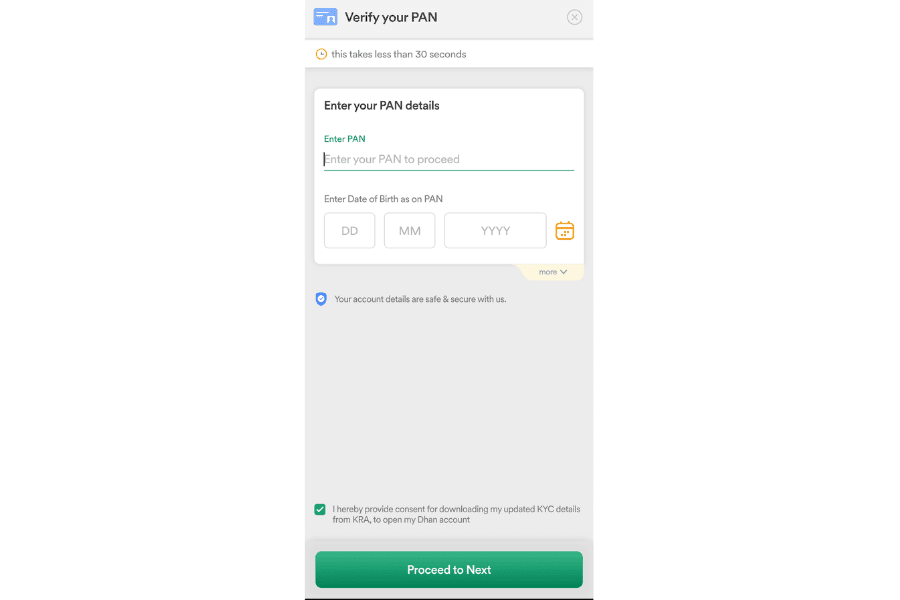
Step 12: Then it will show the name and number of the PAN card you entered. If it is correct, click on "Yes" and proceed.

Step 13: KYC will be done through Digi Locker, which will display your name.
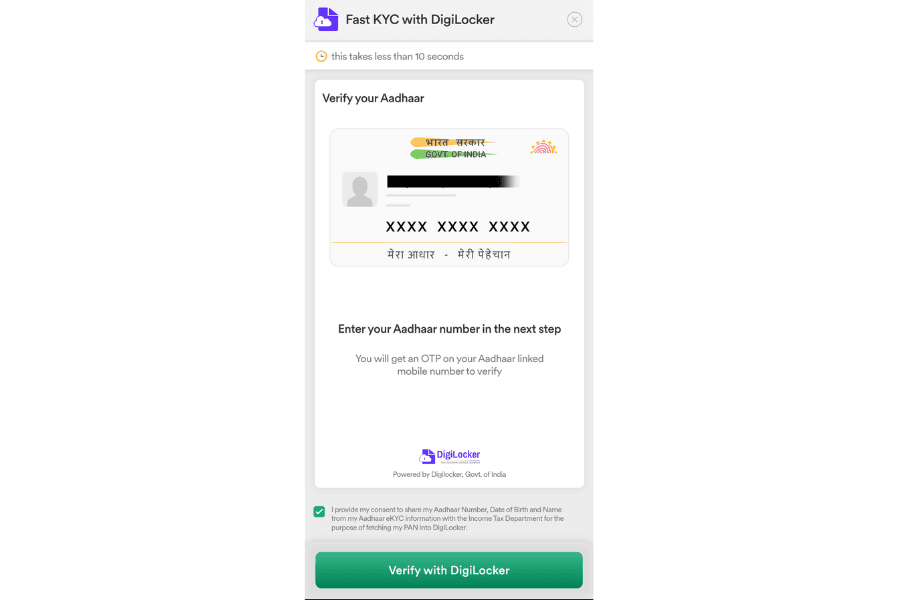
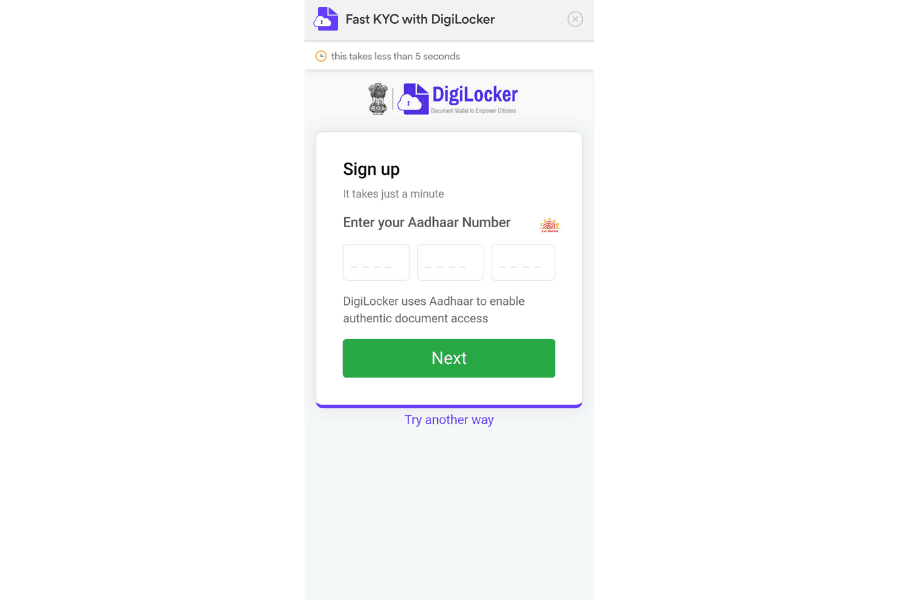
Step 14: Enter your Aadhaar number and click on "Next."
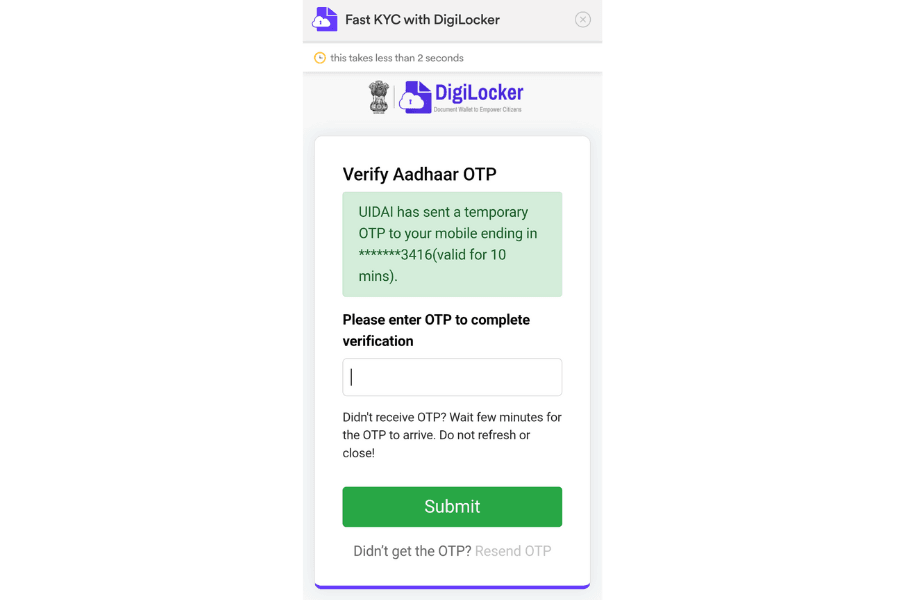
Step 15: An OTP will be sent to the mobile number linked to your Aadhaar card. Enter that OTP.
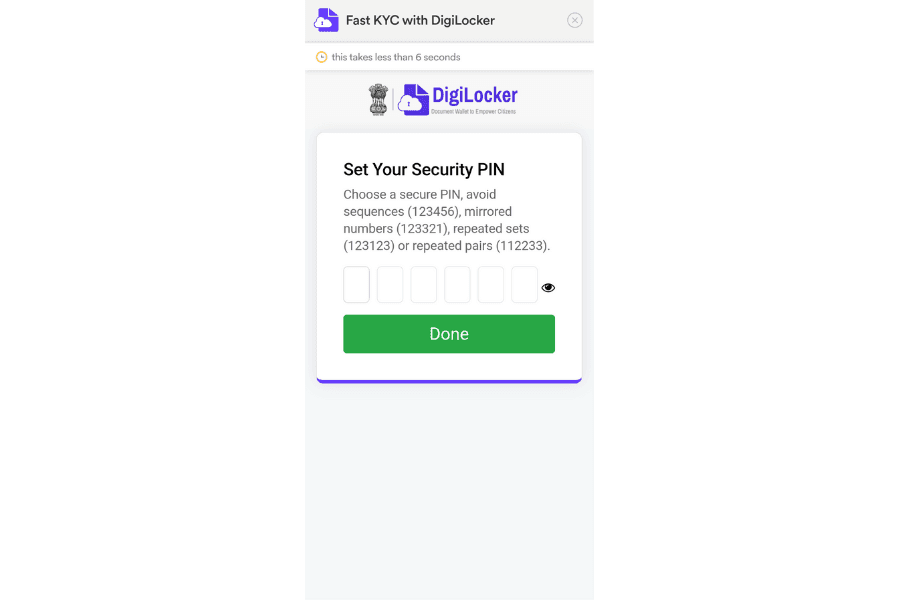
Step 16: Set a six-digit Digi Locker PIN that you can remember.
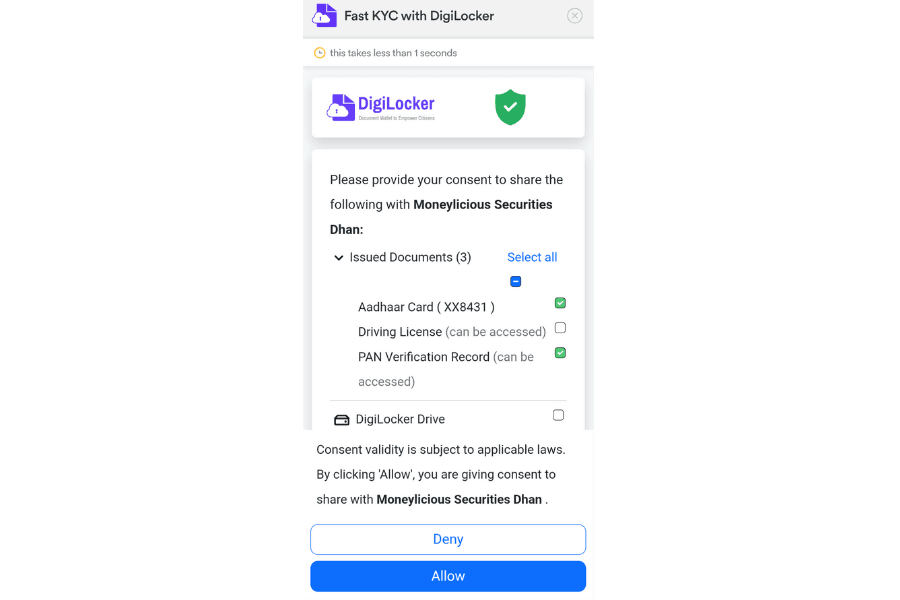
Step 17: Your documents will then be automatically fetched. Then, click Allow.
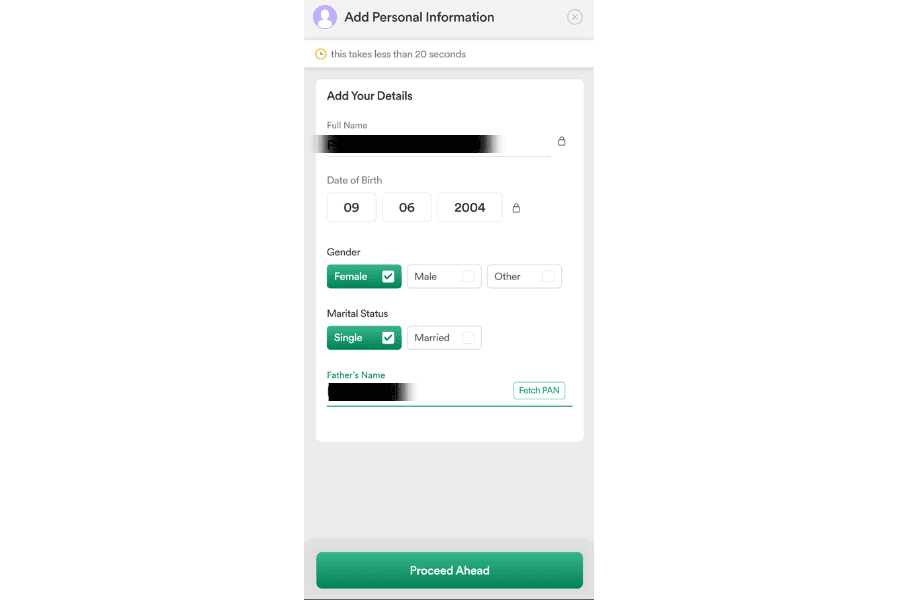
Step 18: Fill in your name, date of birth, and other details.
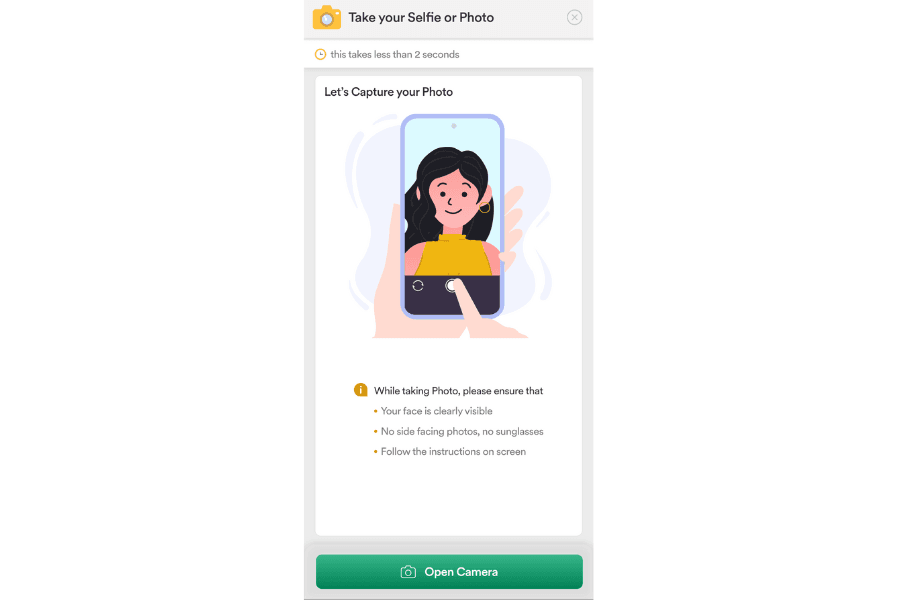
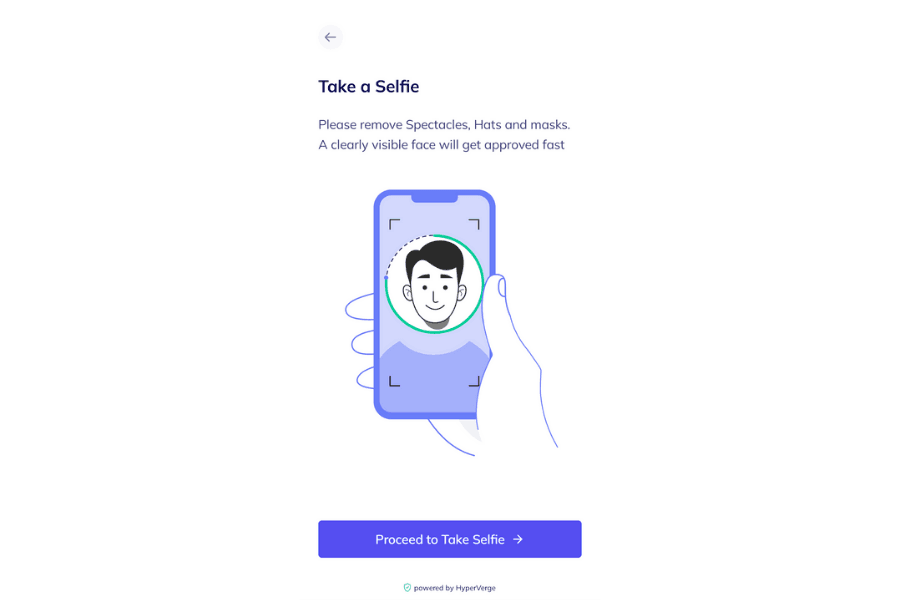
Step 19: Click on 'Open Camera' and take your selfie. While taking a selfie, make sure that the background is of the same color and click the selfie in a place where it is not dark.
Step 20: You will be shown a screen like this; click on 'Proceed to take a selfie' and take your selfie.
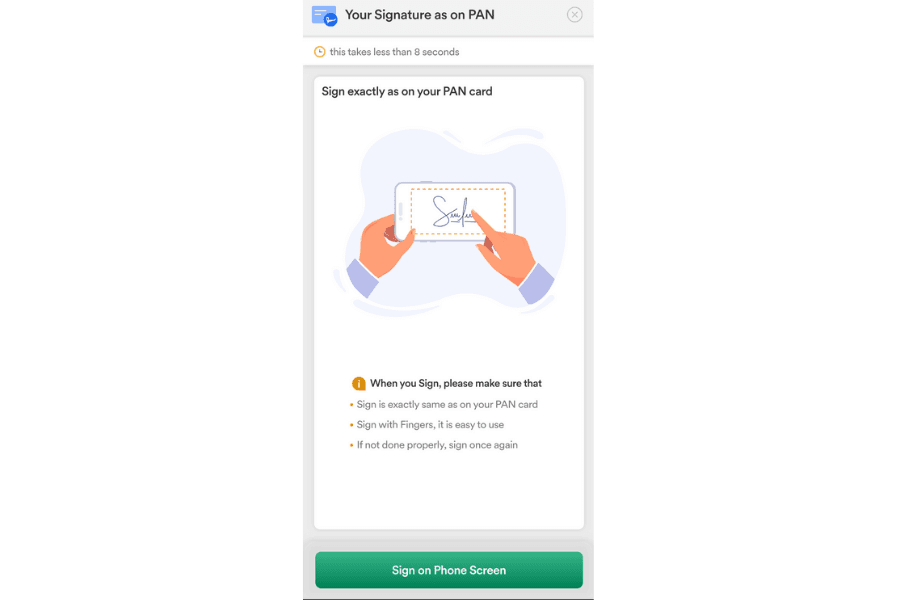
Step 21: Click on 'Sign on Phone Screen' to sign in the same way you signed your PAN card.
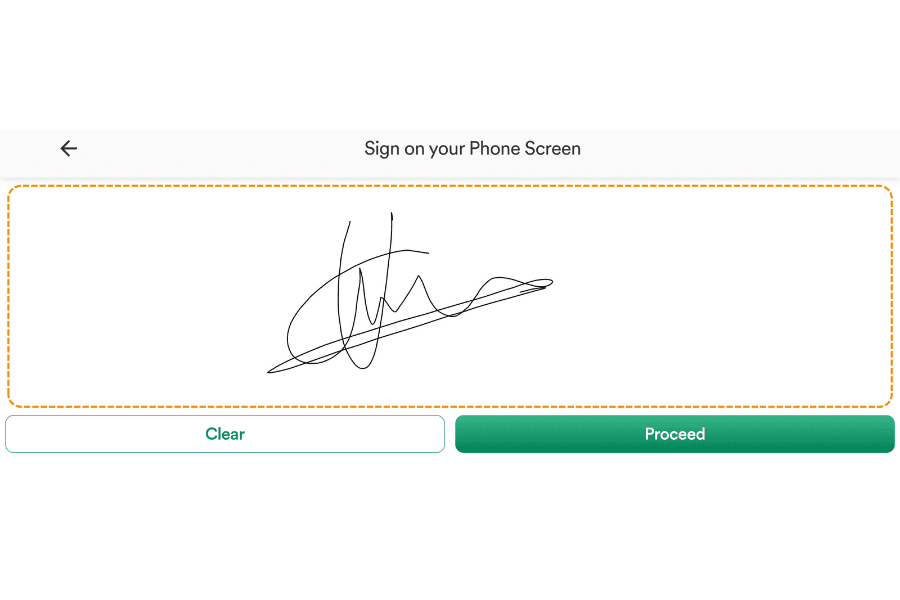
Step 22: Now you have to sign on the mobile display in this way and then proceed.
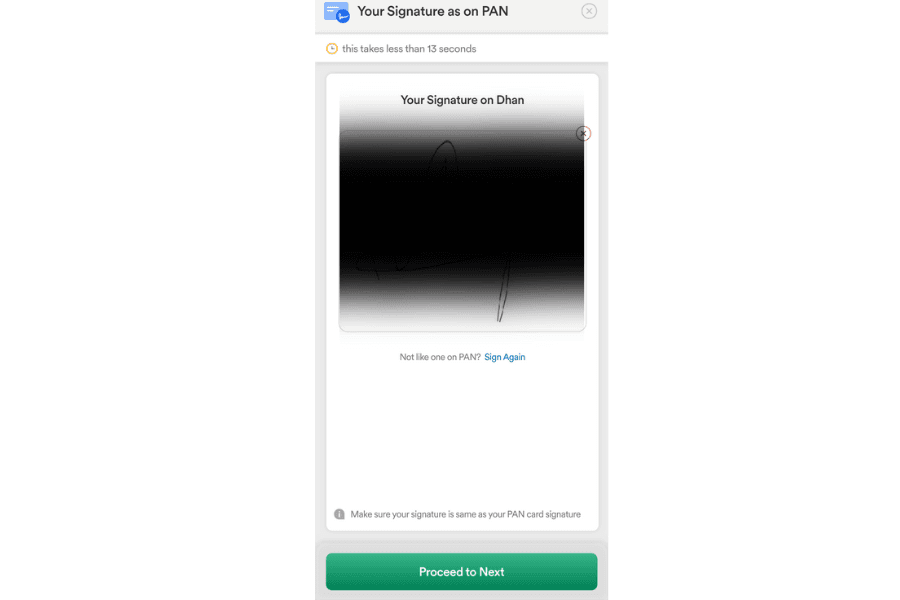
Step 23: This is how your signature will look in Dhan.
Step 24: Enter your income and business details.

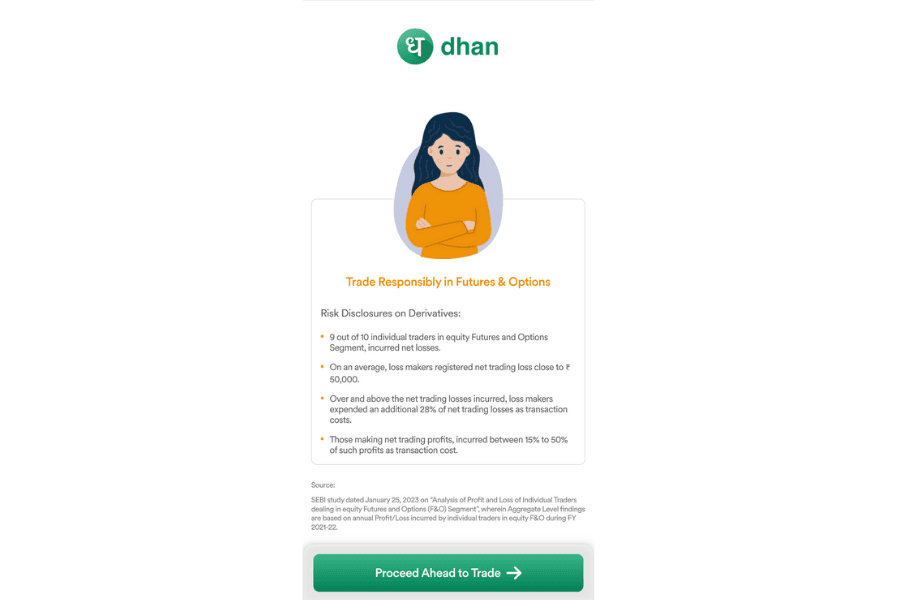
Step 25: Read and understand this paragraph carefully before proceeding.
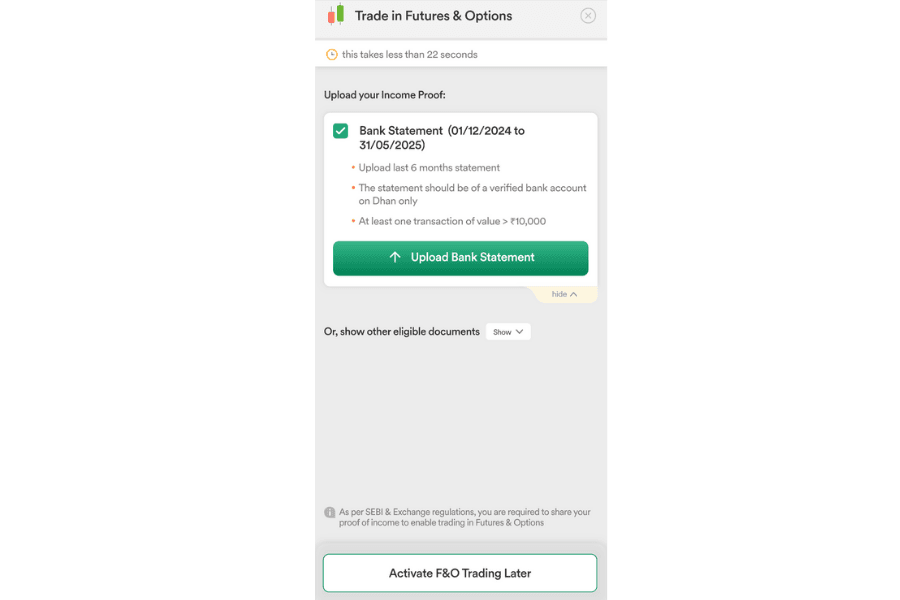
Step 26: To invest and trade, you need to upload your last six months of bank statements (which you will get from the bank's app). To upload, click on Upload Your Bank Documents.
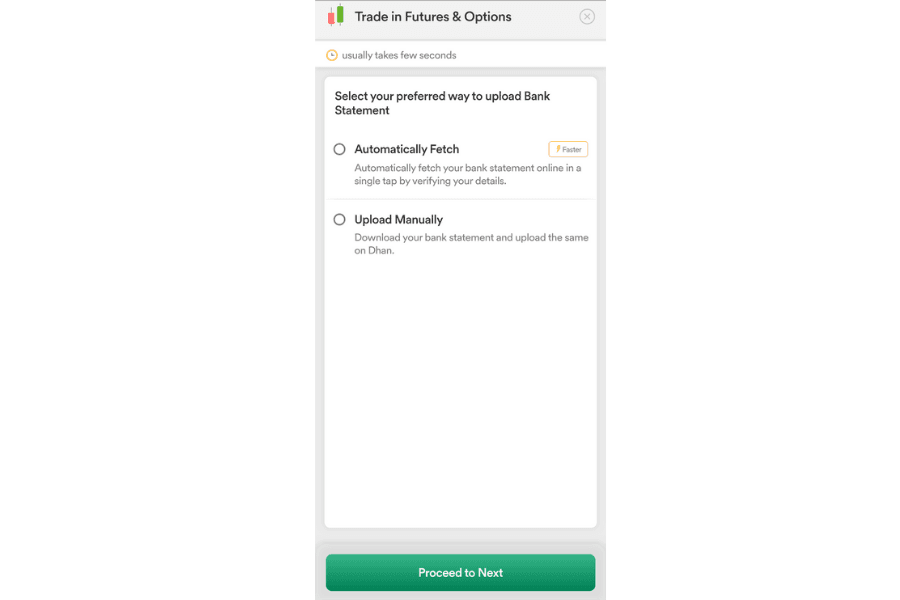
Step 27: Click "Upload manually" to upload your bank statement, or you can also enable "automatic fetch."
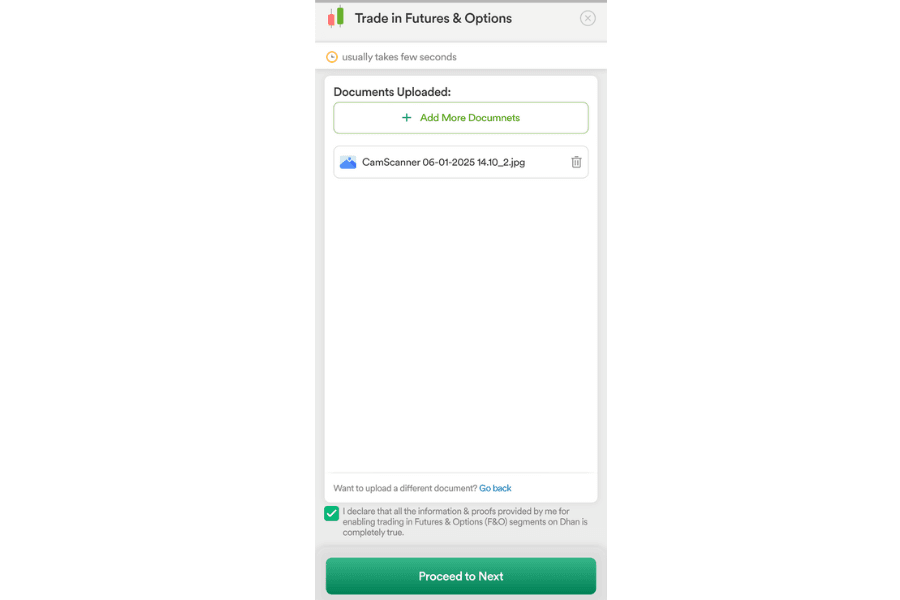
Step 28: Your uploaded documents will show up like this; then proceed.
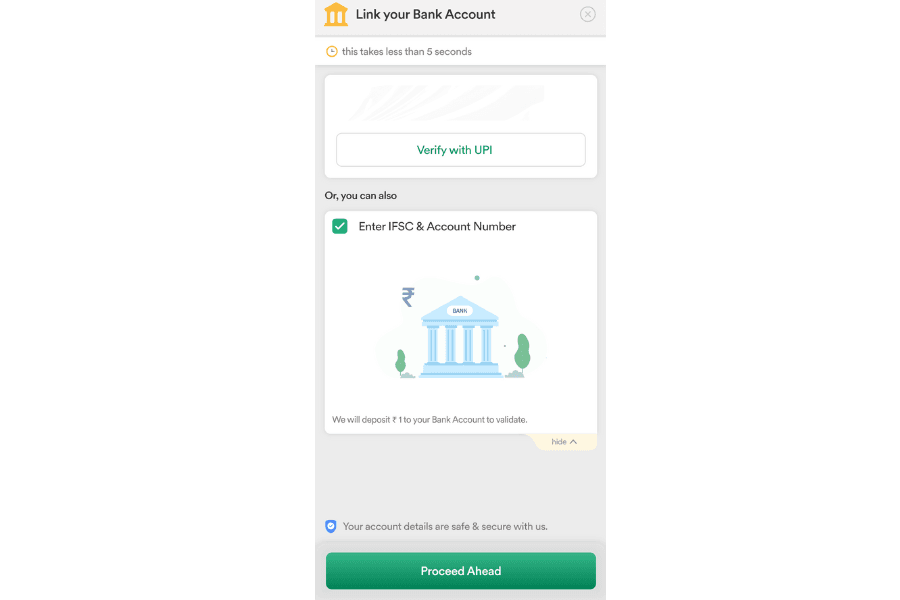
Step 29: Click on "Proceed" to connect UPI to your bank account.
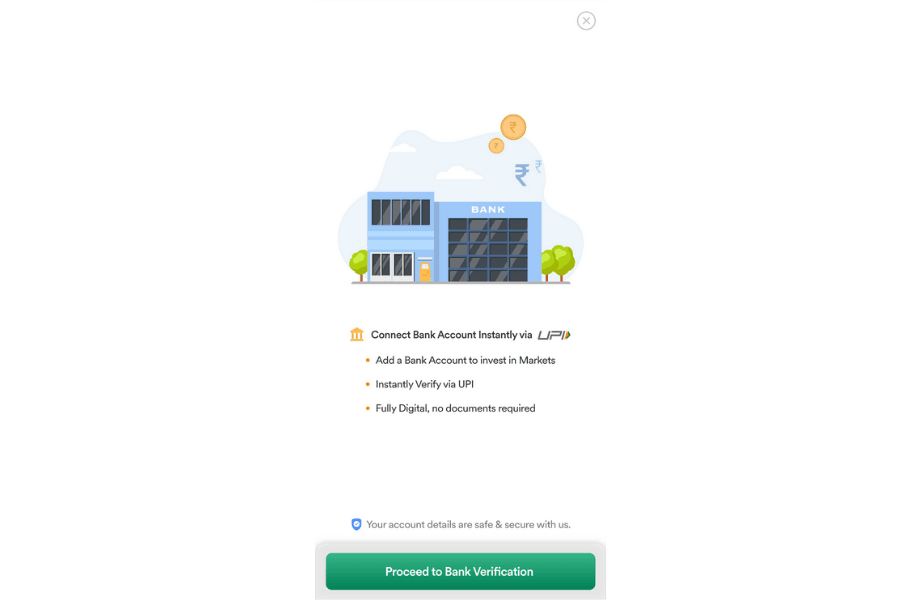
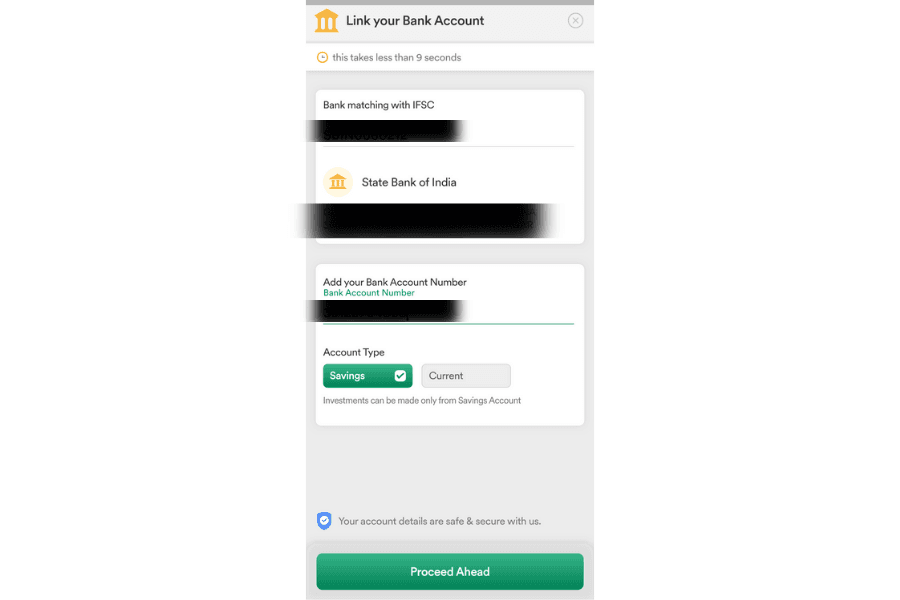
Step 30: To link your bank account, tick the IFSC code and account number, and proceed. Alternatively, you can also verify through UPI.
Step 31: Enter your bank's IFSC code (which is given on the first page of your bank passbook).
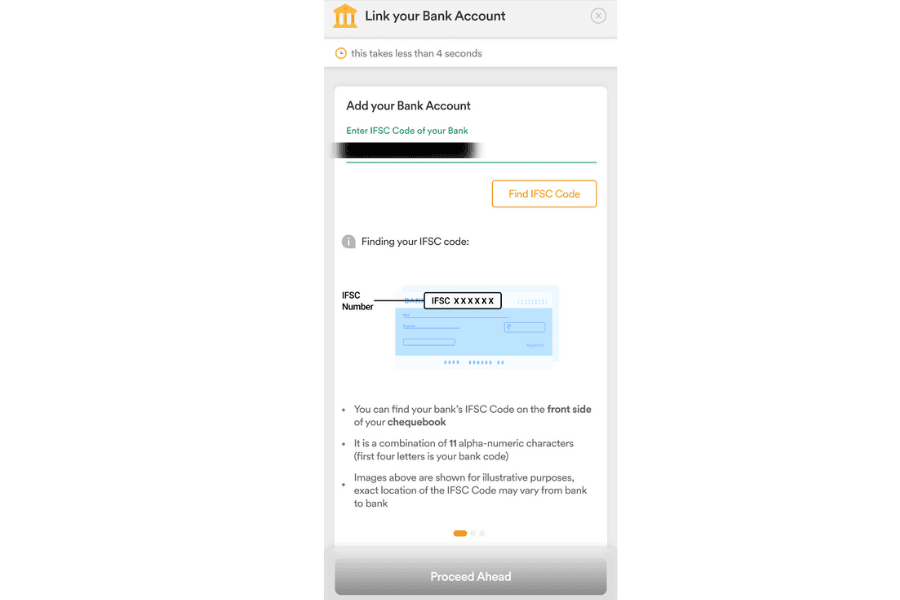
Step 32: Now, after entering the code, your bank name will automatically appear.
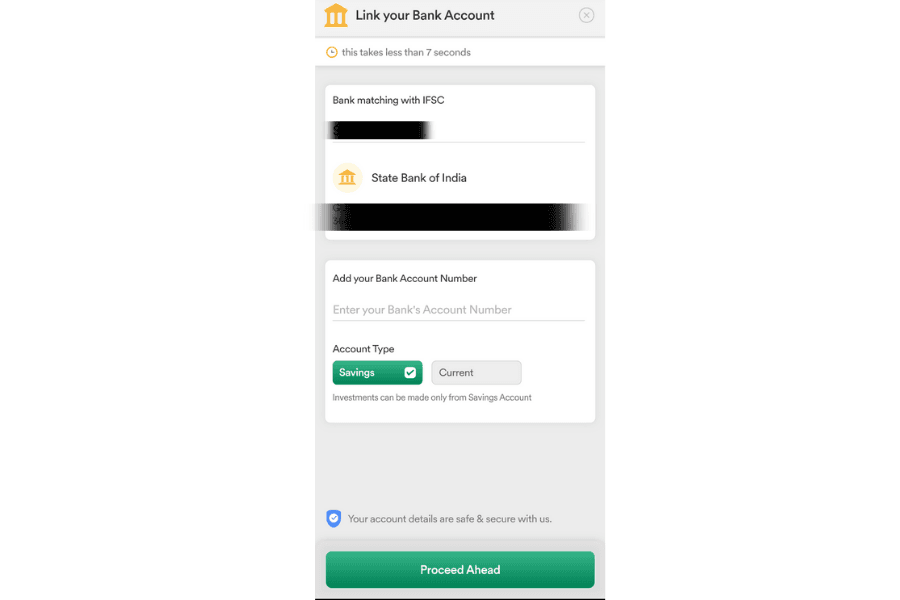
Step 33: hen, enter your account number and proceed.
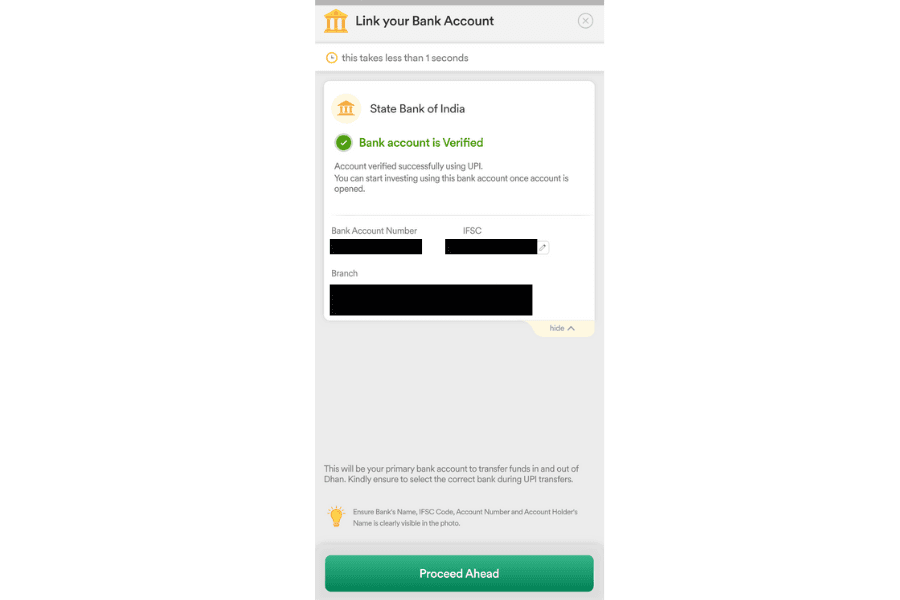
Step 34: Your bank details will be verified and will be shown as follows.
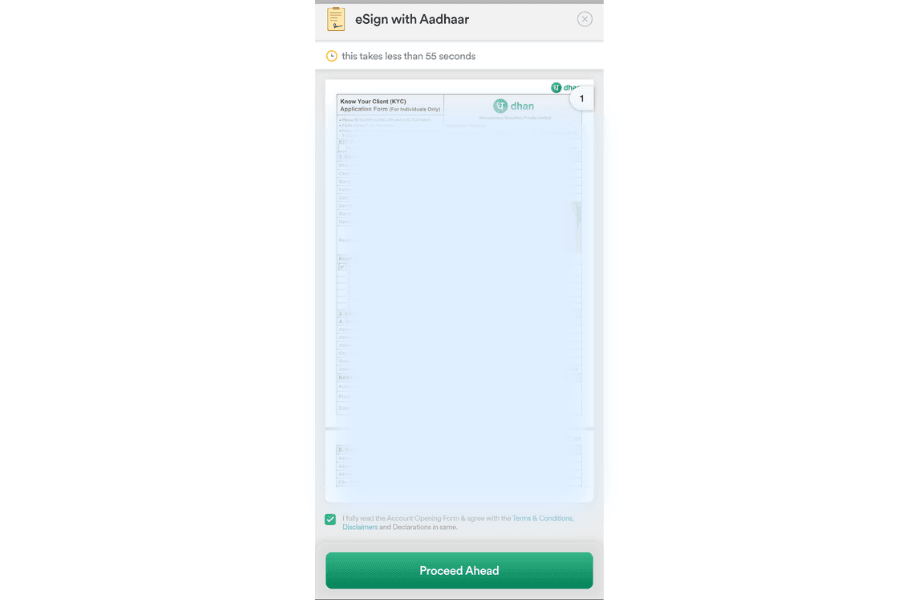
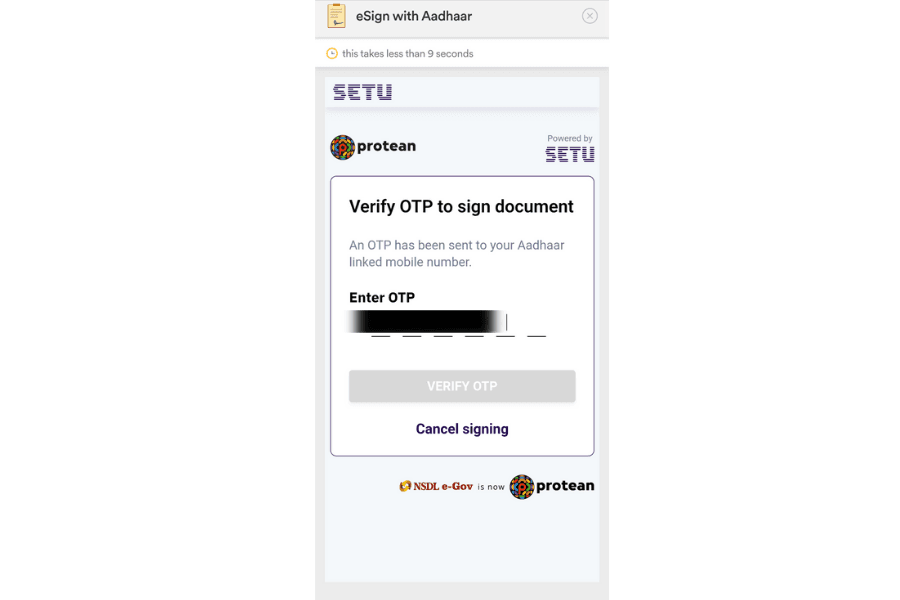
Step 35: A page for e-signing with Aadhaar will appear, which will contain all your details. Now proceed.
Step 36: Enter your Aadhaar number.
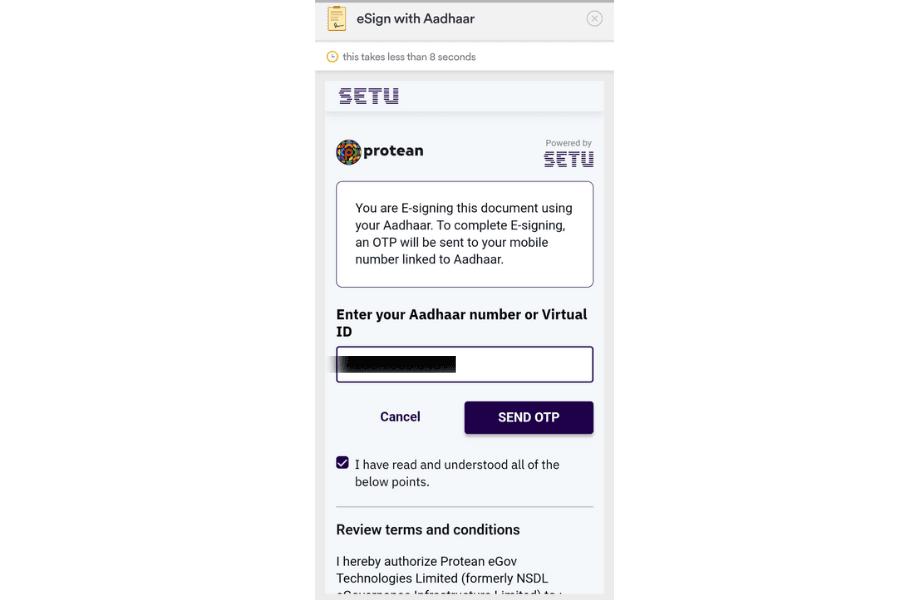
Step 37: An OTP will be sent to the mobile number linked to your Aadhaar card; enter that OTP.
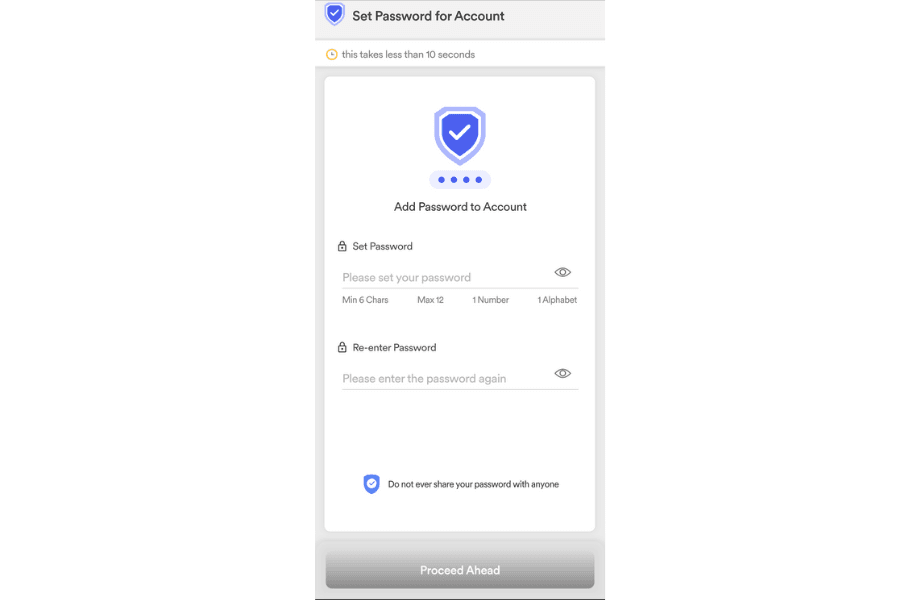
Step 38: Now, create a strong password to log in to the Dhan app.
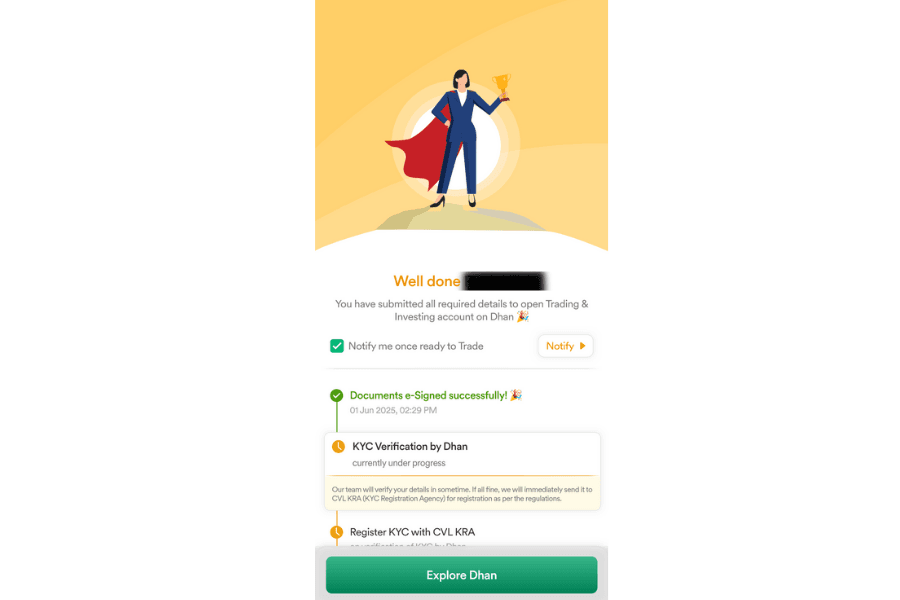
Step 39: Your documents have been signed; now click on 'Explore Dhan' to get EKYC through the Dhan app.
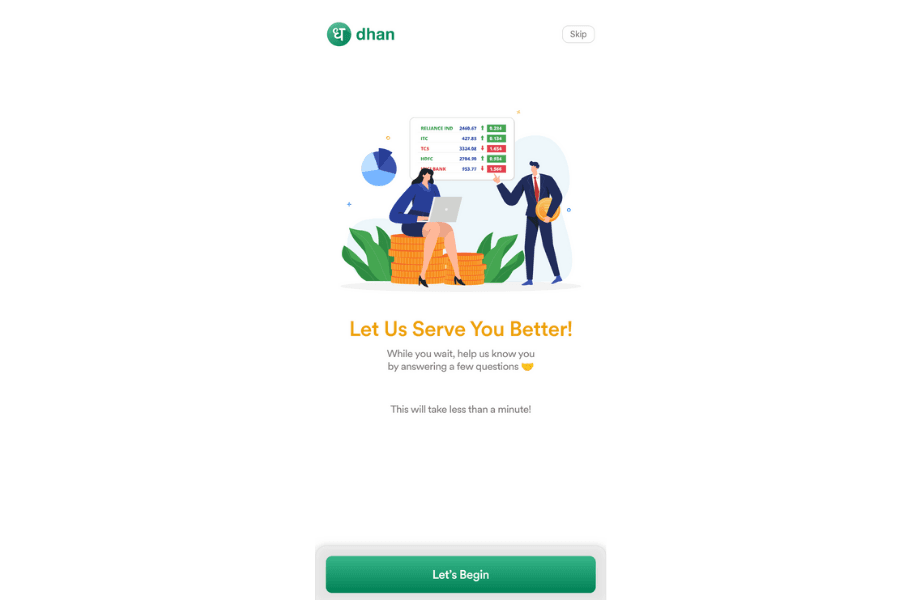
Step 40: Your account has been opened; now click on "Let's Begin."
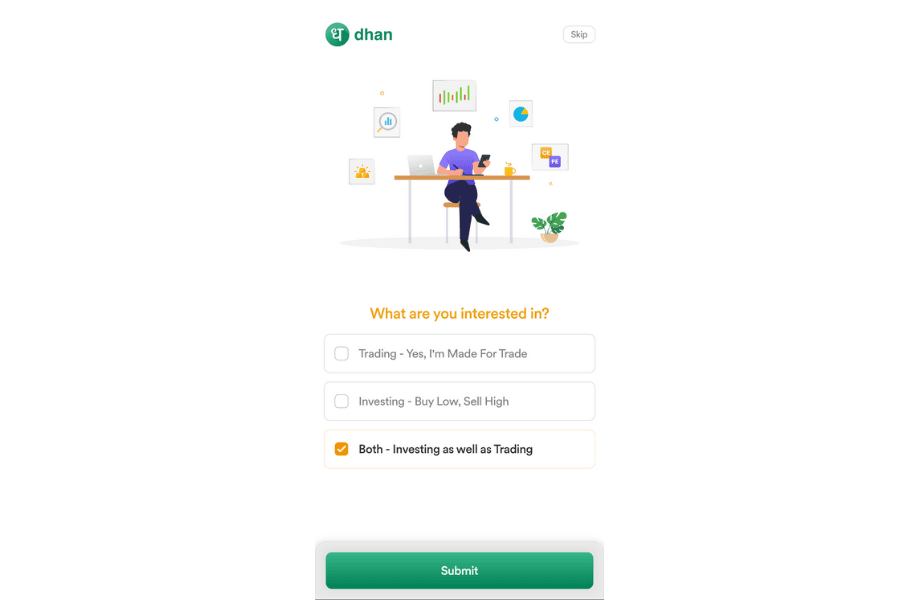
Step 41: Select both investing and trading options, and submit.
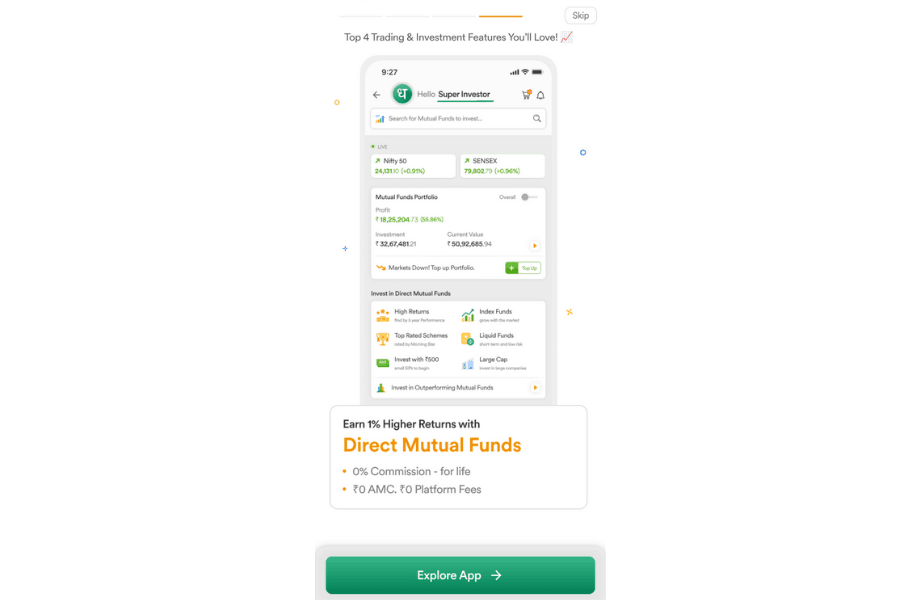
Step 42: And the last step is to click on "Explore App."
Also Read: 5 Simple Steps to Create a Free Demat Account in India
Required Documents:
- Scanned copy of your Aadhaar card.
- Scanned copy of your PAN card.
- Scanned copy of your signature, which should be done with a pen on blank paper and should be clearly visible. Signatures done with a pencil, marker, or sketch pen will be rejected.
- Mobile number that is linked to your Aadhaar card and is active. If the mobile number is not linked, then visit the nearest Aadhaar Seva Kendra.
- When you upload the bank statement, make sure that it has the account number, IFSC code, and MICR code, all of which should be clearly visible.
- Income Proof – It is required if you wish to trade in Futures & Options, Currency, or Commodities. You can submit any of the following documents for income proof:
- Form-16
- Latest 6-month Bank statement
- Latest salary slip
- Income Tax Return Acknowledgment
- Net worth certificates from a CA
Please note that only personal accounts are opened online.
📢Disclaimer: Investment in the securities market is subject to market risks. Please read all scheme-related documents carefully before investing. The information provided in this article is for educational and informational purposes only and is not intended as investment advice. Trading in derivatives, including options, involves substantial risk and is not suitable for all investors. Past performance is not indicative of future results. Readers are advised to consult with their financial advisors before making any trading decisions.
💬FAQs
1. Is opening a Demat account on the Dhan App really free?
Yes, opening a Demat and trading account on the Dhan App is completely free. There are no account opening charges or annual maintenance fees for retail users
2. How long does it take to open a Dhan Demat account?
The entire process is paperless and can be completed within 10–15 minutes. Once the verification is done, your account is usually activated on the same day.
3. Is the Dhan App safe and SEBI registered?
Yes, Dhan is a SEBI-registered stockbroker and complies with all regulatory requirements. It uses bank-level security and encryption for user data and transactions.
4. Can I use the Dhan App on both Android and iOS devices?
Absolutely! The Dhan App is available for download on both Google Play Store (Android) and Apple App Store (iOS). It offers a smooth and user-friendly experience on both platforms.